TGM digital archive platform introduction
In the past decade, thousands of Tamil Eelam and Tamil Genocide-related digital artifacts were purposefully removed by major social media platforms such as Facebook. In order to preserve the Tamil historic content, TGM enabled this platform (https://tamilgenocide.com/) where Tamil activists can create their own accounts, upload and organize the digital artifacts. The platform will provide the facility to duplicate and preserve the content easily in the future.
A series of tutorials will be provided to help Activists and enthusiastic to upload and organize the content. The followings are the steps to join this effort. Please note that this platform is not an alternative social media even though it offers similar features.
Step 1: Register and create your account by clicking on the “Sign up” at the top right corner

It will lead to this form. Please enter a valid email to receive the verification code. The Nickname will be used to show as your name on the platform.

Step 2: Check your email and verify and then you should be able to sign in to the platform
By clicking on the profile, it will provide links to manage your profile.
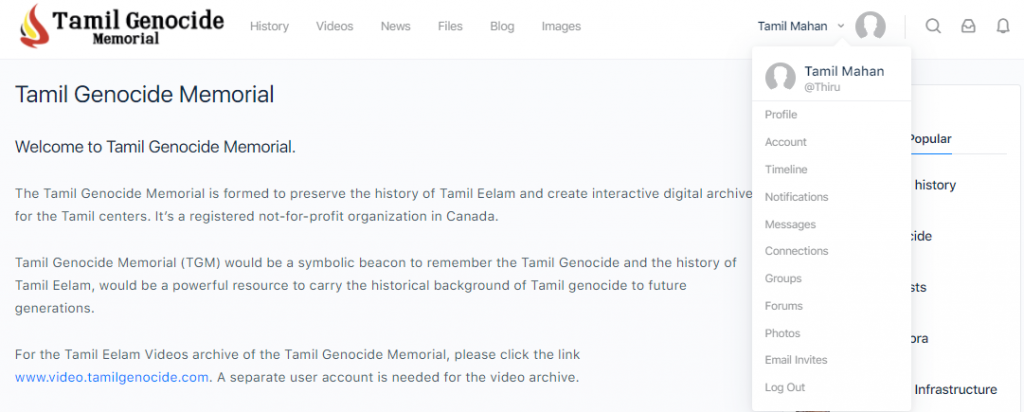
Step 3: Navigate through the History tab
In this tab, it has public groups and private groups. The private groups are marked as “Hidden” (eg. Tamil Activist) and content in these groups is not visible to the public but only for users accepted into these groups. The public groups are visible without login to the platform. Each group has an album for the collection of photos, folders to organize documents, a timeline similar to a social media feed, and discussion groups.
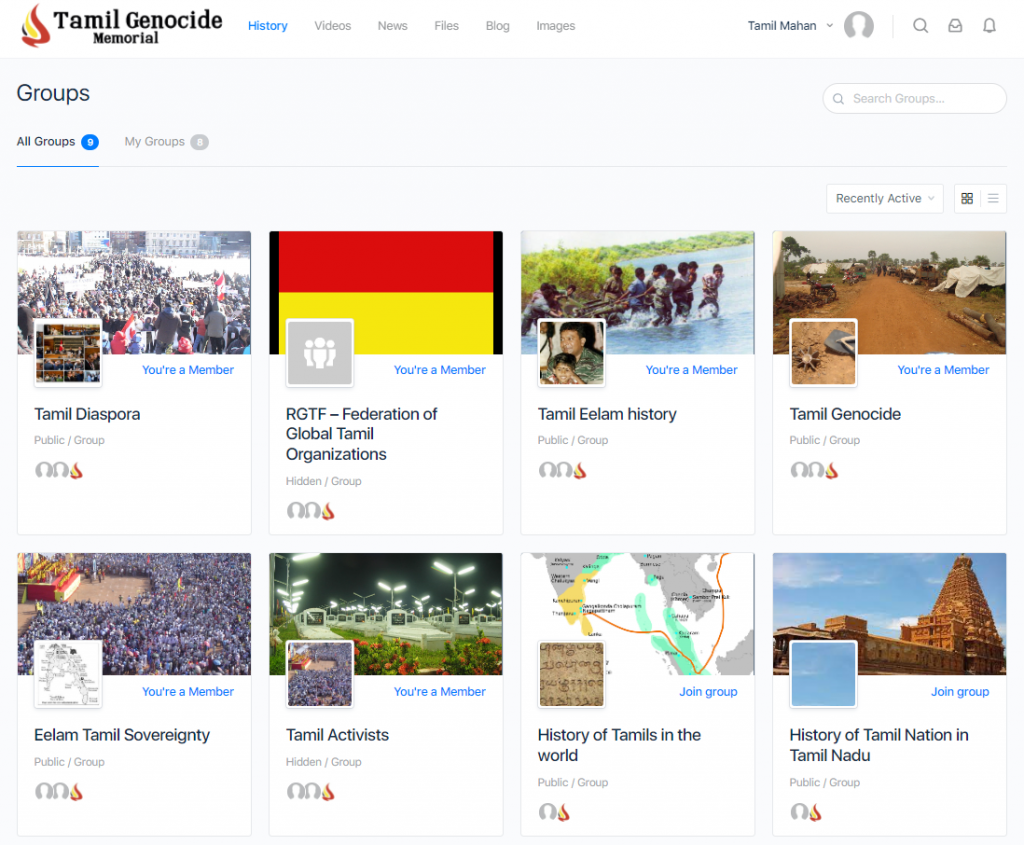
Step 4: Uploading Images to album
By clicking on Tamil Eelam history above, will show a list of tabs and one of them is Albums. The following has several albums and you can click on one album and upload related photos.
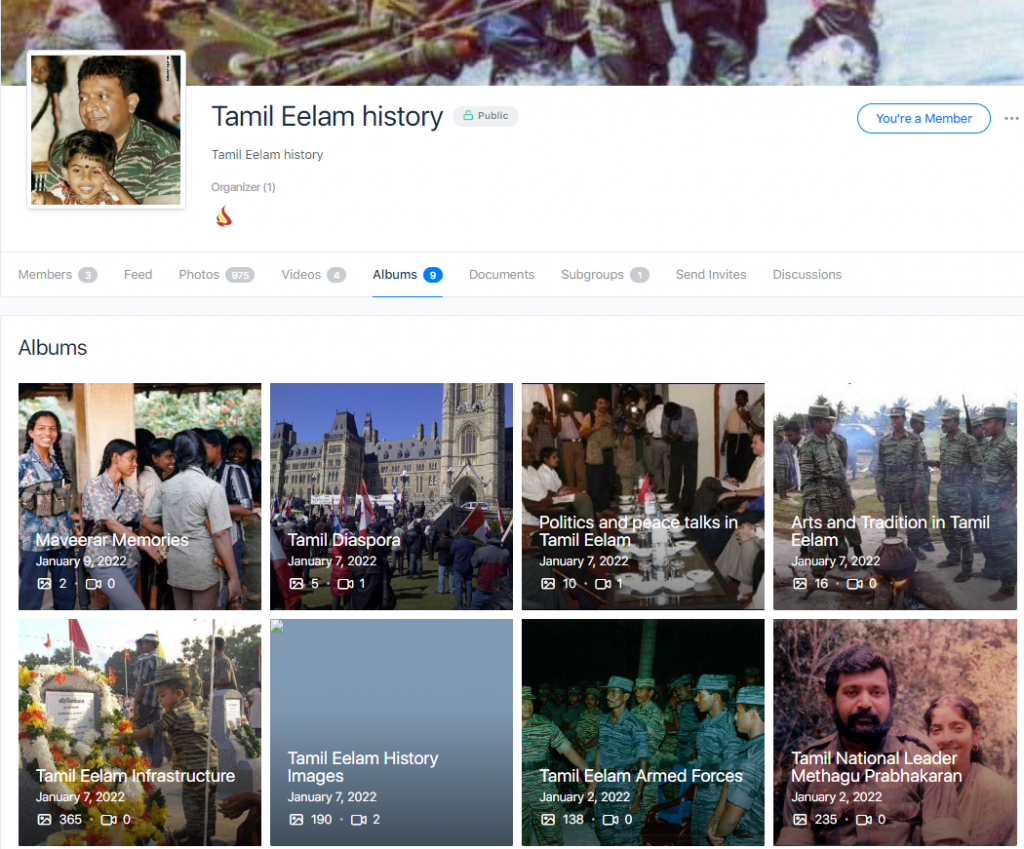

By clicking on Add Photos will open a dialog where you can drop the list of photos to upload. Once place all the photos, click on Done will upload it to the platform.

Step 5: Uploading documents to folders
By Clicking on the Documents, it will show a list of folders. Please do not use create Folder unless it is absolutely necessary. Try your best to find a related folder to place the documents.
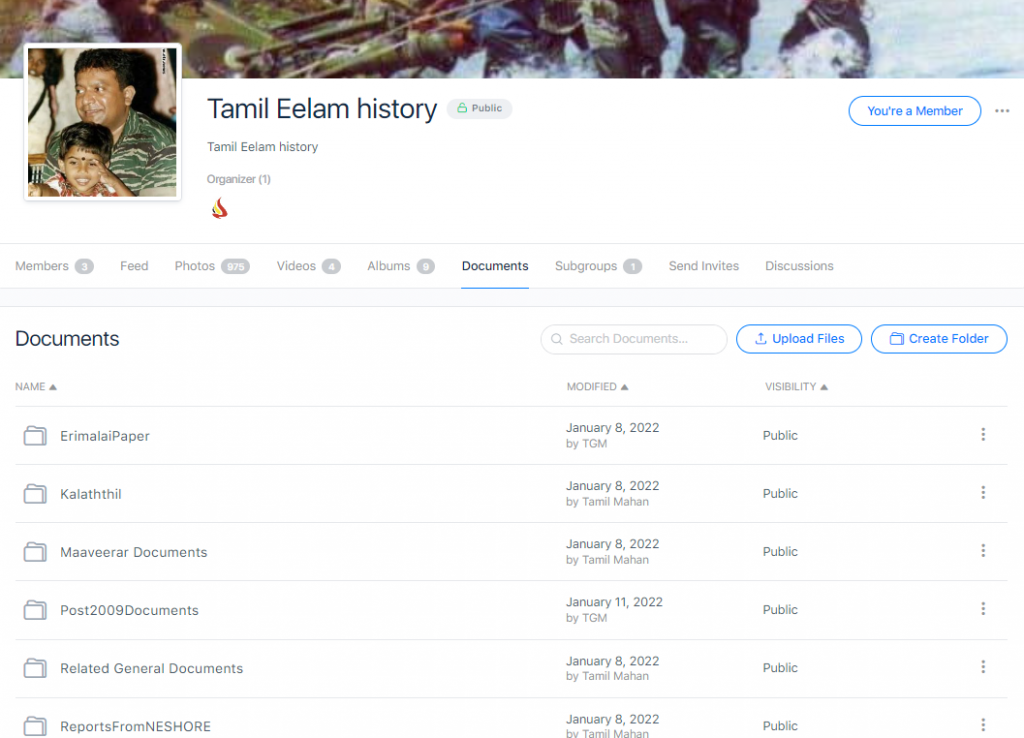
Please be patience as it may take a few minutes to open the folder. Once the folder is opened, you can see the list of files in the folder and you can upload your file to the folder by clicking on upload files. Uploading documents is similar to uploading images.

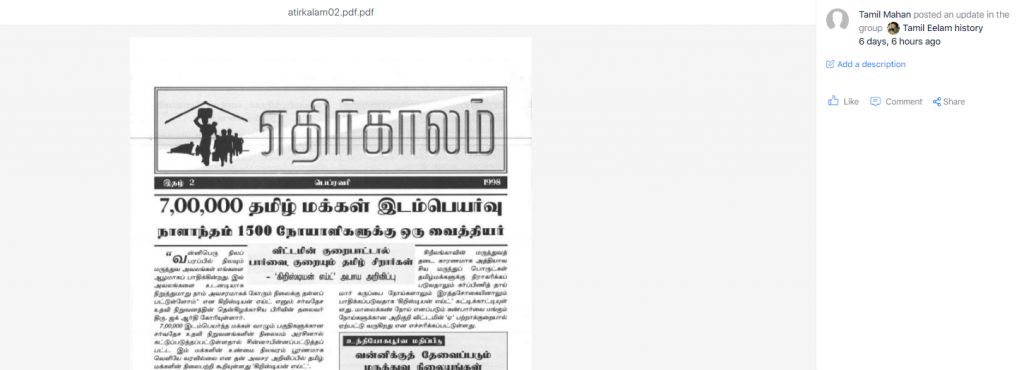
By clicking on any of the files will open a dialog and shows only the first page of the document (pdf). You can find a download button at the bottom right to download the pdf to view the whole document.
The rest of the functionalities will be explained in the next blog post. Thanks if there any questions or feedback, please send it via the Contact Us form at the home page at right hand bottom SITE MAP.
